- Head to Sam's Club Photo.
- Using the box on the upper right, log in or create your account.

- This is the step where you will upload your photos to the website. If you don't have the two JPG files I sent you downloaded and saved onto your computer take a minute to do so now. You might find it helpful to save them on your desktop so you can find them quickly. Choose "Upload" from the top menu bar.

- Choose the method that you are most comfortable with. You can drag the image for the front of your card directly onto the website. Or you can choose to browse images and navigate to the correct files. Make sure both the JPG files get uploaded (one for front and one for back).

- When both images are listed, press the "Upload" button.

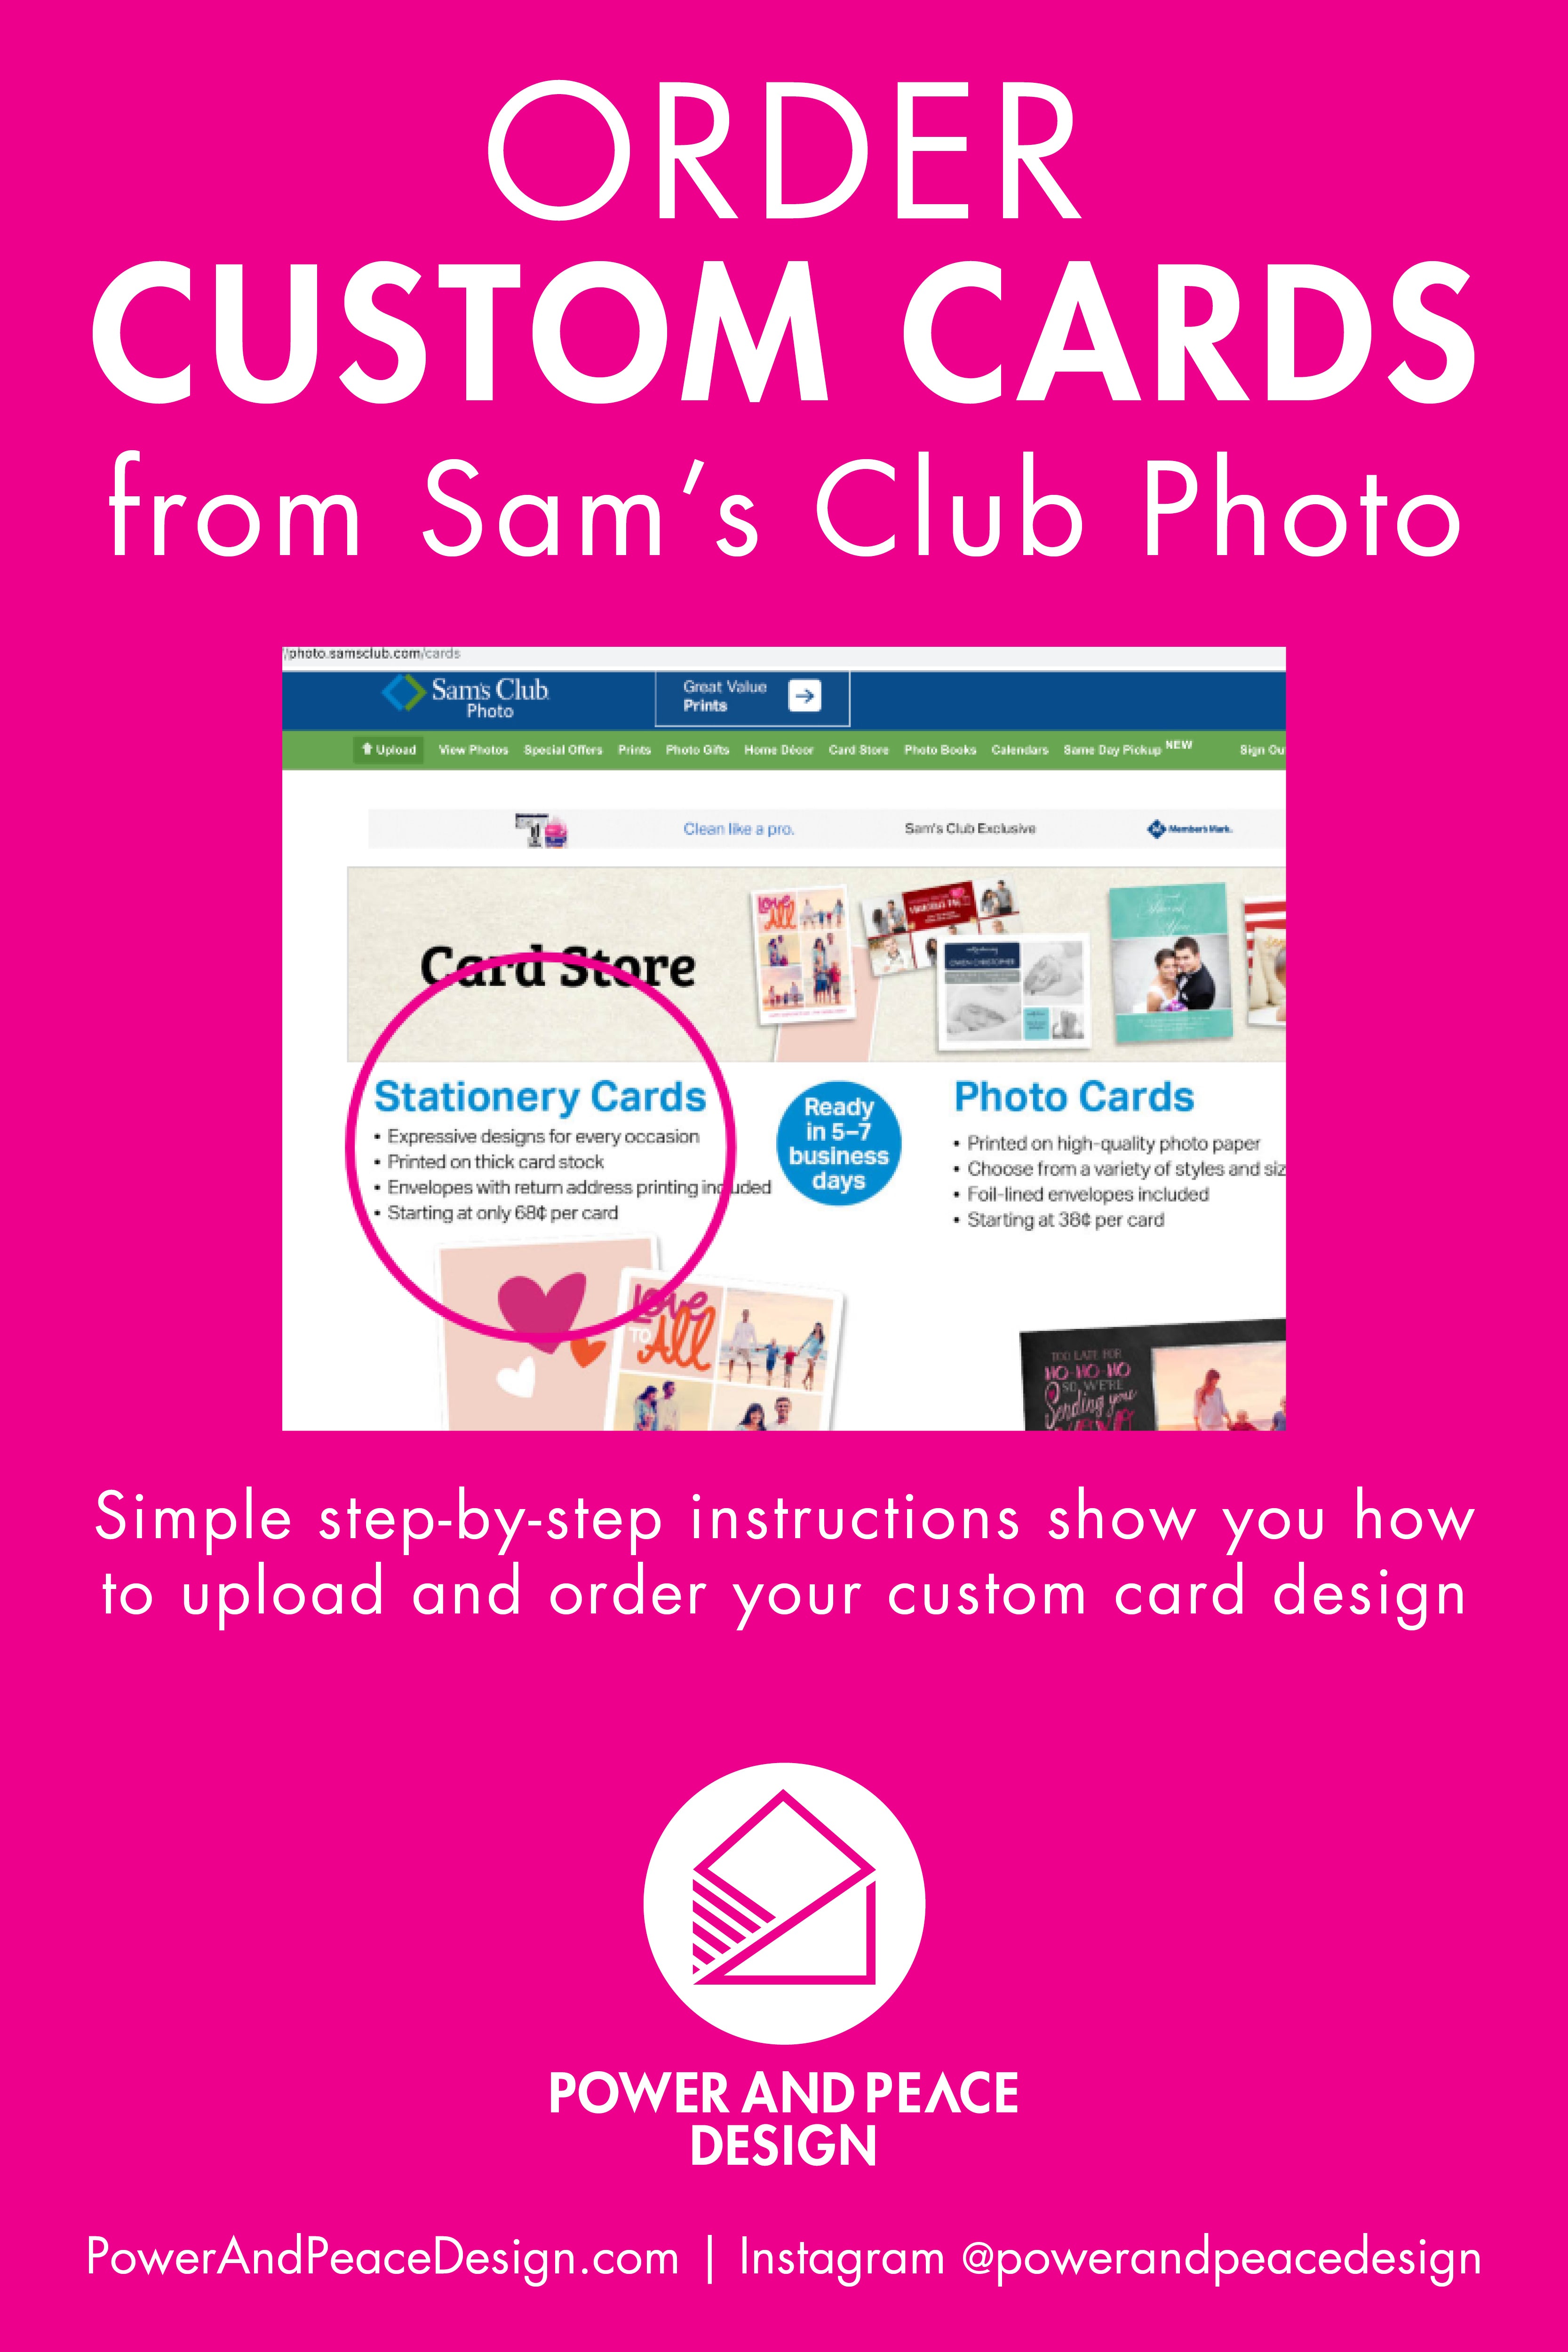
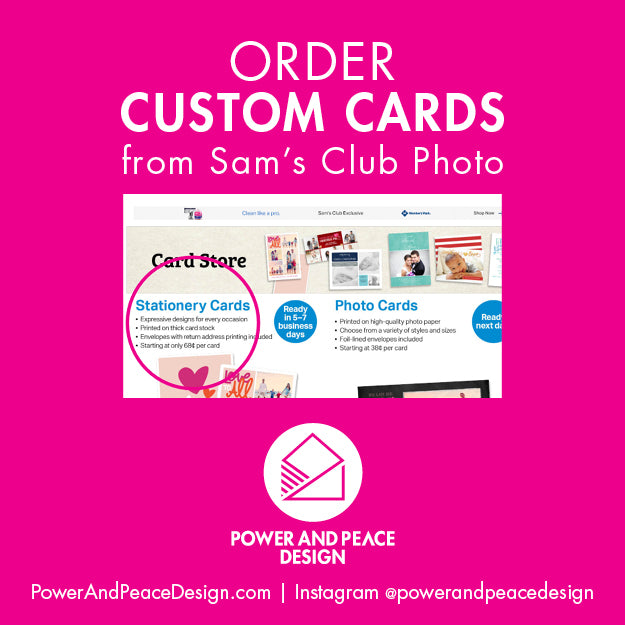
- Now select "Card Store" from the top menu.

- On the next screen select "Stationery Cards." These will be 2-sided and printed on a heavy card stock. The "Photo Cards" option will be thinner and 1-sided although less expensive.

- On the next window type "design your own" into the search bar in the upper right corner.

- Choose between vertical and horizontal options.

- Select your corner style and then press "Personalize."

- A screen showing you how the site works pops up next. Read as needed and then press close up above this screen.

- Click on the card. The recently uploaded images will slide up from the bottom (under "My Photos").

- Drag the image for the front of your card into place. Then click the blue arrow on the far right to move to the back of the card.

- Drag the image for the back of your card into place. Again click the blue arrow to navigate to the next step.


- You will be offered the opportunity to print a return address on the back of your envelopes. If you do not wish to do so, check the box at the top reading "Blank Envelope." Now click the green button in the upper right reading "Continue."

- On the last page you can change the quantity and then check that you approve the card by clicking the circle with the checkbox. Then you can press the button reading "Add to Cart" and complete the checkout process!