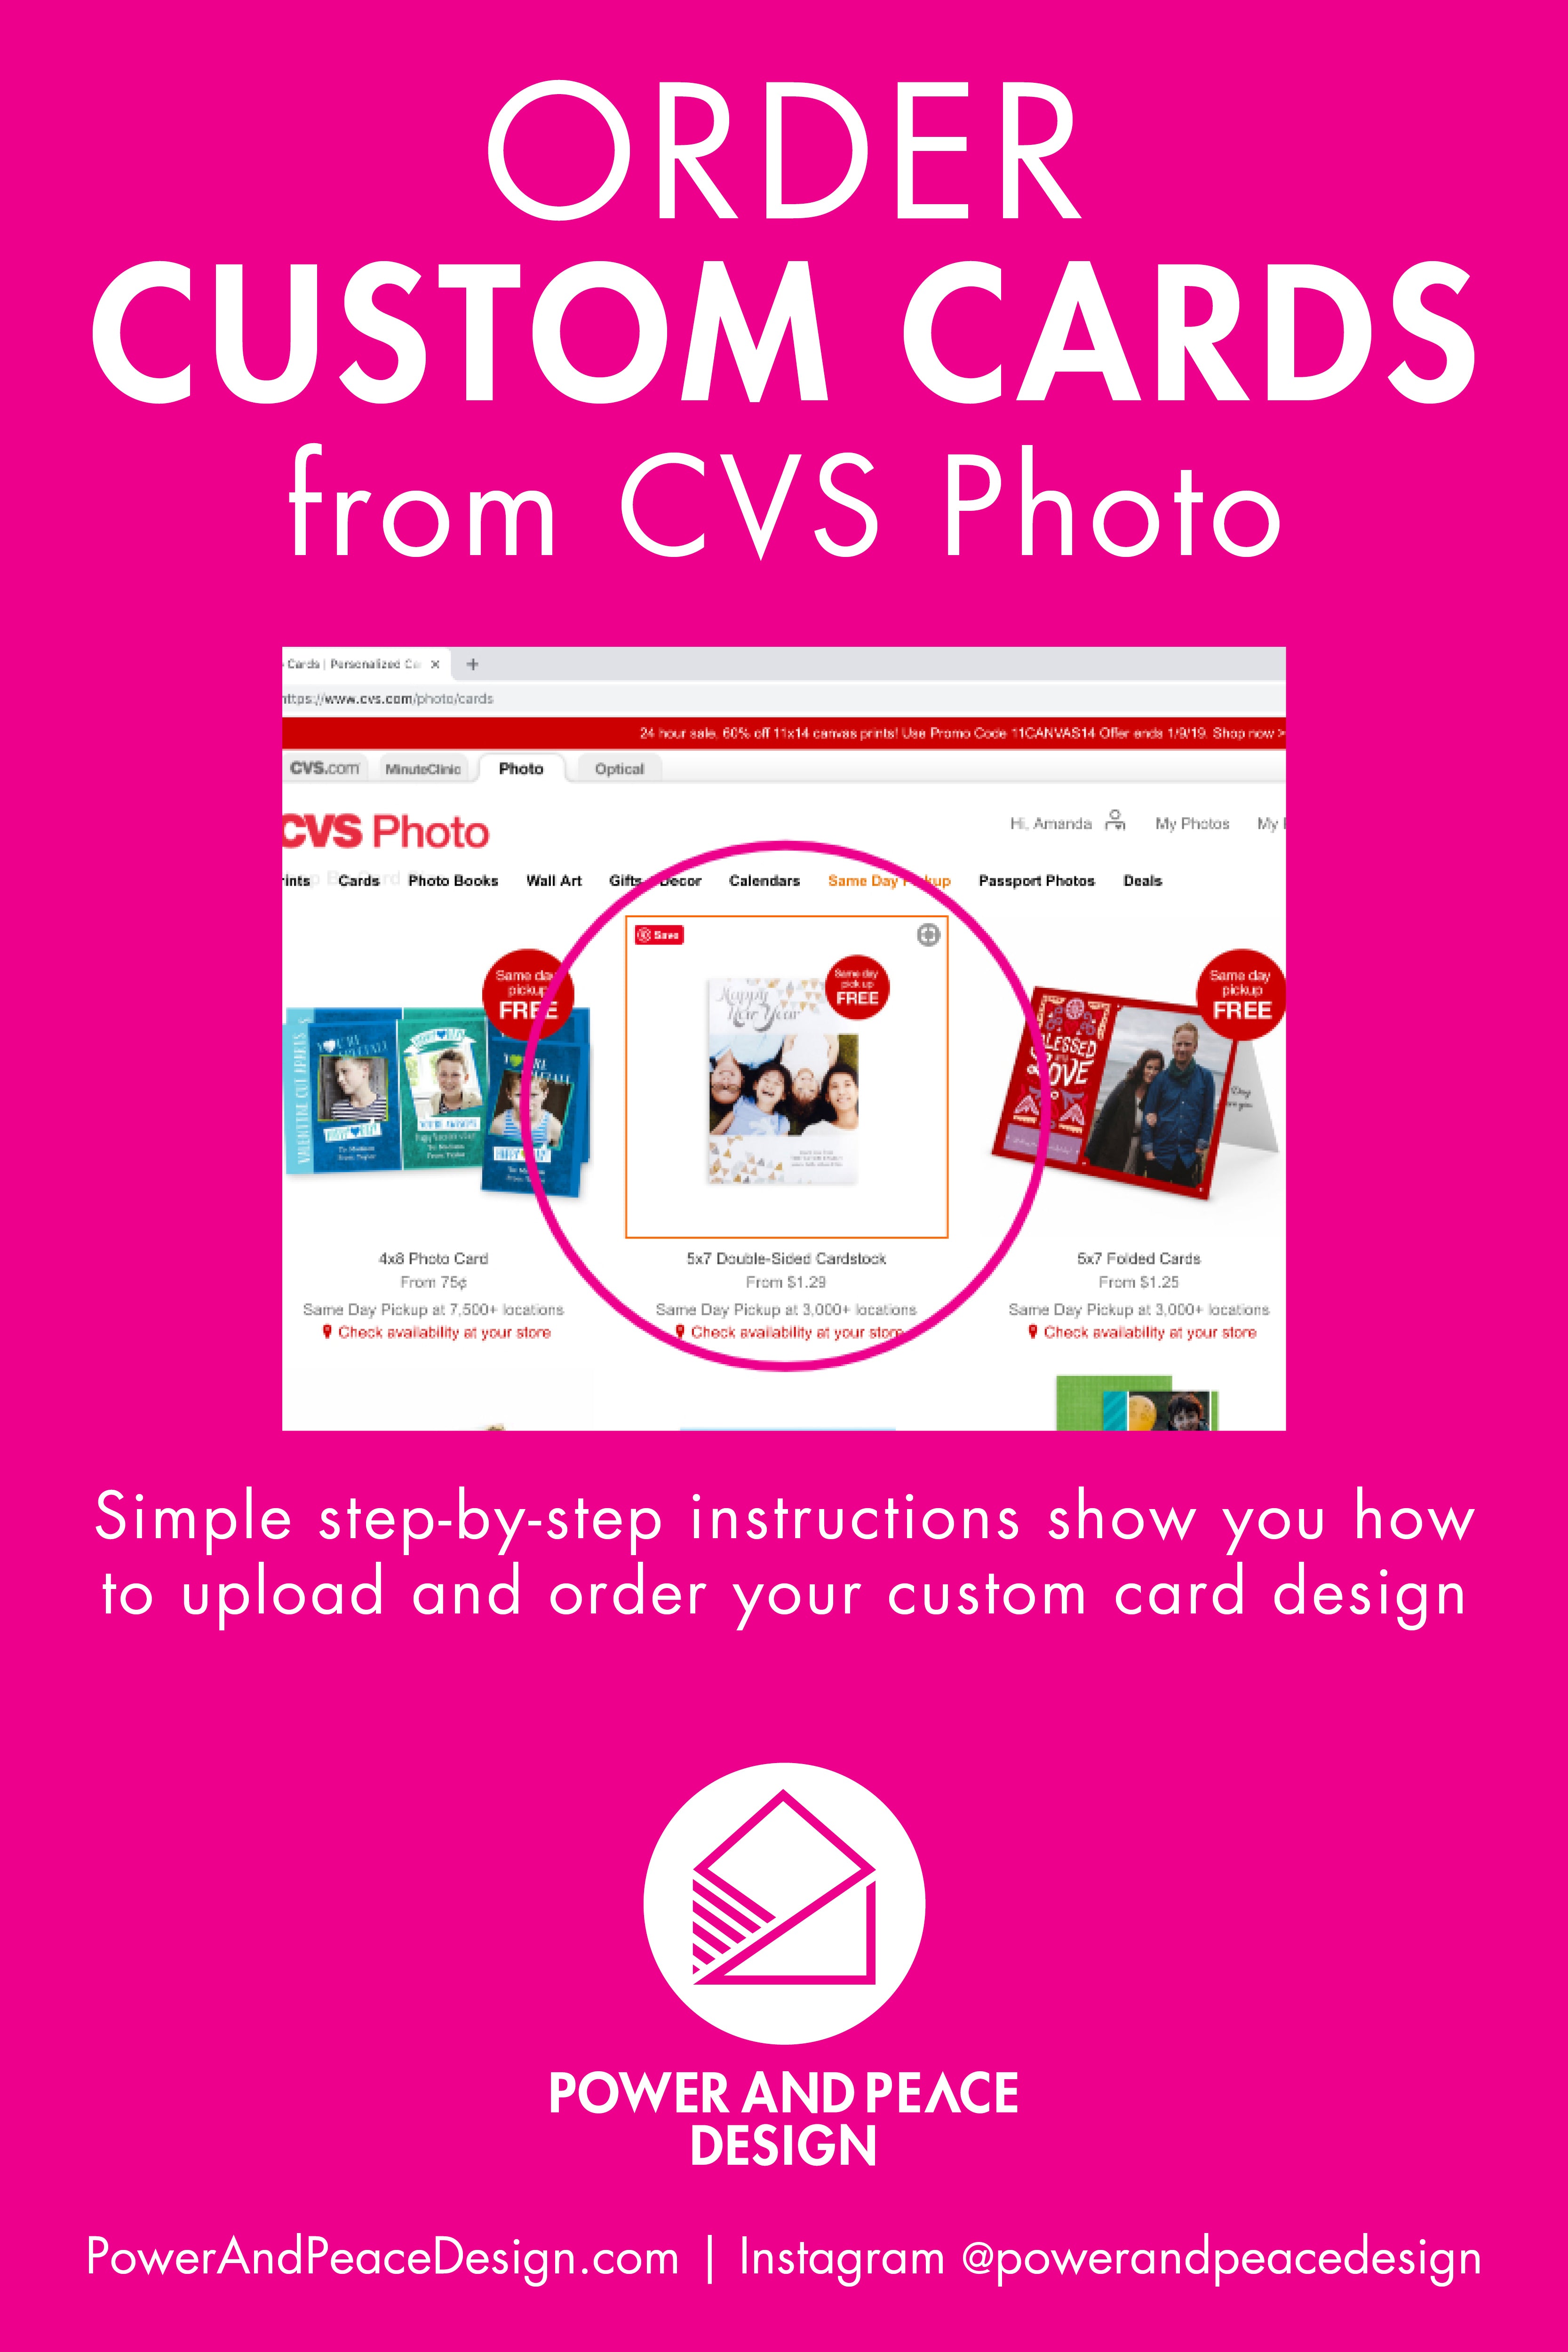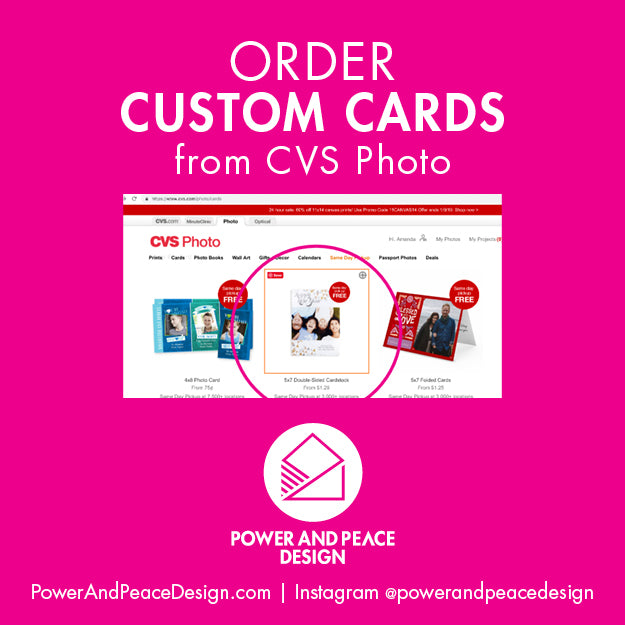
- Head to CVS Photo.
- Using the box on the upper right, sign in or create your account ("join").

- Once you're in the site brings you to a screen where you can choose to "Upload Photos." If you don't have the two JPG files I sent you downloaded and saved onto your computer take a minute to do so now. You might find it helpful to save them on your desktop so you can find them quickly.

- Clicking the "Upload Photos" button drops down a menu. Choose where your two JPG files are located and navigate to them. Click "done."

- I was immediately and conveniently brought to a pop-up window that gave me the option to "Create Card." Select that.

- I scrolled down and chose the "5x7 Double-Sided Cardstock" option.

- In the search box in the upper left type in "design your own card."

- Select the blank card option that shows up in the second row.

- Choose vertical or horizontal from the left panel. Change your paper, quantity, and corner options as desired. Then hit "Create now."

- Select the "Layouts" tab from the left panel. Choose the option that is closest to a full photo.

- Select the "Photos" tab from the left panel. Click the image for the front of the card and drag it into place. Pull the handles along the edge of the image to expand it until the images take up the entire front of the card.

- Click the arrow on the bottom right to design the back of the card.
- Repeat steps 10 and 11 to place the image on the back of the card and adjust so it fills the entire card.

- Now choose "Review & Buy" from the upper right corner.

- Preview both sides of the card. Adjust the quantity. The hit the "Order Now" button in the upper right corner. Ta-dah!