- Head to Walmart Photo.
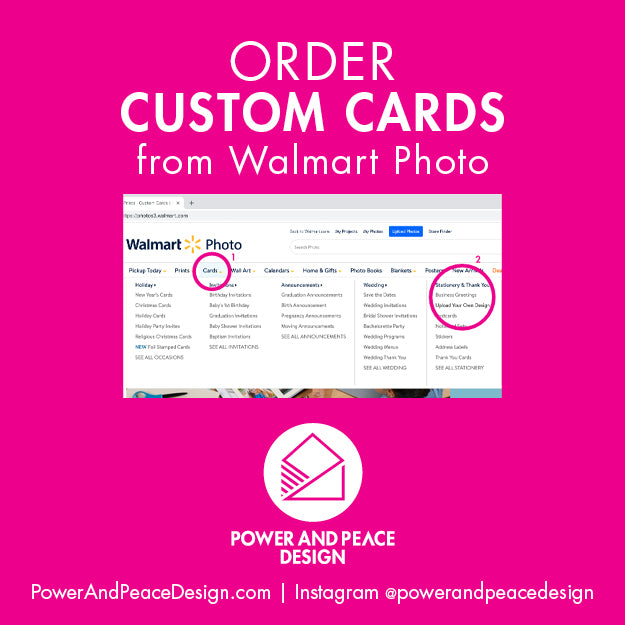
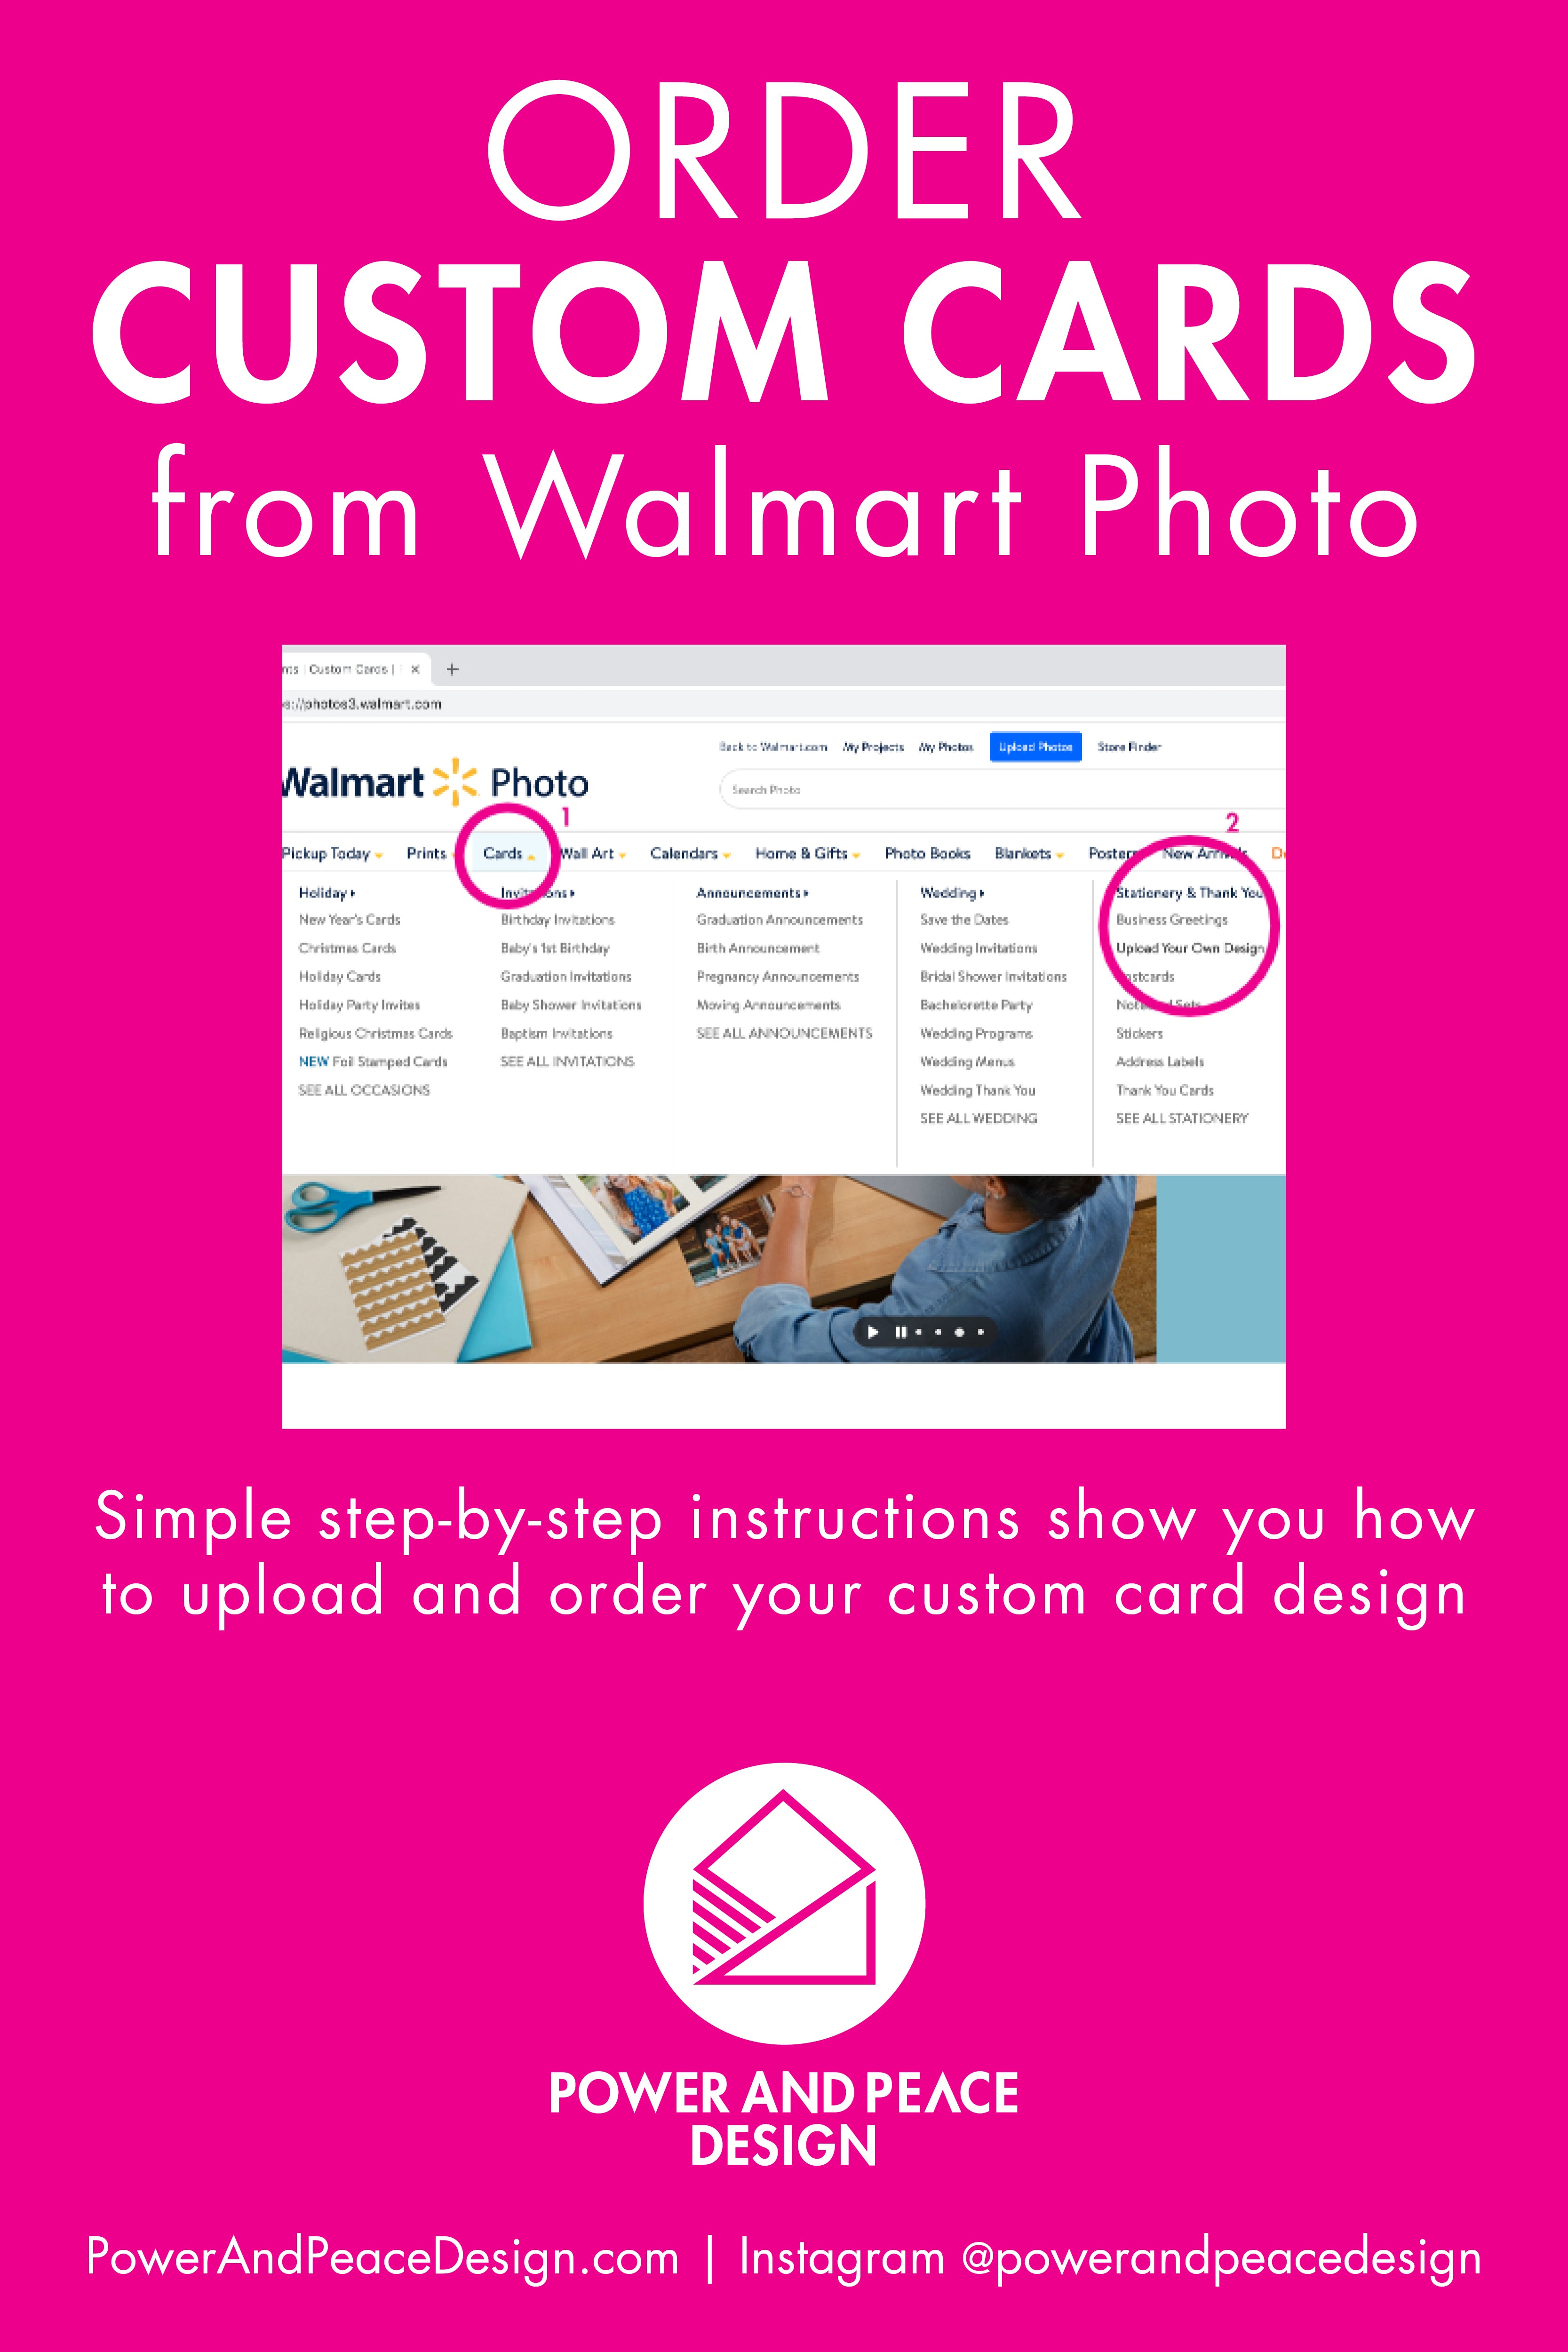
- Rollover "Cards" in top menu. Then, under the heading "Stationery" on the far right, click on "Upload Your Own Design."

- On the next menu choose 5x7 from the left panel under the heading "Card Type."

- Click the blank card. Now you can select trim type, paper, and envelope. Premium cardstock is the best choice for paper. At the bottom you can also adjust the quantity. After making your selections, press the button reading "Create Now."

- This is the step where you will upload your photos to the website.If you don't have the two JPG files I sent you downloaded and saved onto your computer take a minute to do so now. You might find it helpful to save them on your desktop so you can find them quickly.Now press the button reading "Add Photos." Choose the method that you are most comfortable with. You can drag the image for the front of your card directly onto the website. Or you can choose to browse images and navigate to the correct file. Make sure both the JPG files get uploaded (one for front and one for back).

- If you need to change whether your card is horizontal or vertical, you can do so by clicking "Layouts" in the left panel.

- When your two image are uploaded, press the "Autofill" button and your card will be already designed.

- Click to the back of the card for a preview. In my case, the card defaulted to showing two images on the back. I changed this in the menu on the left by selecting "Designs" and then choosing one that showed a large single image.

- At the top right corner of the screen you have options for previewing your card and changing the quantity. Once you've done those things, click "Done" and complete your checkout.

- You will be prompted to either log in or create an online account in order to complete your order. You also have the option to pick up your cards in person or to have them shipped to your house.

Printing Custom Cards at Walmart Photo
Posted by Shopify API on
Updated January 2019
If you've never printed a custom card design before and are feeling a little hesitant on your tech ability then read on for some step-by-step instructions for meijerphoto.com. I would recommend using a laptop or tablet over a phone for ease of navigation.
Note: You will be required to set up an online account with Walmart Photo if you do not already have one. I was not prompted to do so until checkout.